
Managing multiple jobs, clients, or service contracts requires more than just tracking income and expenses. It demands visibility into every aspect of a project, from the hours worked to the materials billed and the profitability of each project.
QuickBooks Online includes a built-in Projects feature that allows you to group related transactions, track job costs, and measure profit for individual projects. It is used by contractors, consultants, and service businesses that need to monitor financial performance at the project level.
This tutorial explains how to use QuickBooks for project management, including setting up jobs, assigning transactions, and tracking labor. It also covers how to review profitability using tools available in QuickBooks Online Plus, Advanced, and Accountant plans. Each step is based on official product documentation and verified instructions, with no third-party assumptions.
The Projects feature is not turned on by default. It must be manually enabled in your settings before you can begin assigning transactions to individual jobs. Once activated, it adds a Projects tab to your left-hand menu, allowing you to group income, expenses, and time entries under specific jobs.
Steps To Turn On Projects
1.Navigate To The Settings
Click the ‘gear icon’ in the top right corner of your QuickBooks dashboard. From the dropdown menu, select ‘Account and Settings’ to open your company configuration panel.
2.Click On The Advanced Tab
In the menu on the left side of the screen, select the ‘Advanced tab.’ This section contains additional features not included in the main settings area.
3.Locate The Projects Section
Scroll down to find the Projects section. Click the ‘pencil icon’ next to it to open the editing panel, where the feature can be activated.
4.Toggle The ‘Organize All Job-Related Activity In One Place’
In the Projects section, switch the setting to on. This enables project tracking and allows you to group transactions by job.
5.Click Save
After turning the settings on, click Save to confirm your selection. Then click ‘Done’ to exit the settings screen and return to your dashboard.
Note: The Projects feature is available only in QuickBooks Online Plus, Advanced, and Accountant editions.
The Projects tab in QuickBooks Online lets you manage each job separately, tracking revenue, expenses, and labor in one place. Once enabled, you can create new projects, assign financial activity, and review job performance in real time. All project actions are grouped under the ‘Projects’ menu.
Creating A New Project
1.Go To The Projects Menu
From the left-hand navigation bar, click ‘Projects.’ If the feature is enabled, this will appear between ‘Expenses’ and ‘Time.’
2.Click On New Project
At the top-right corner of the Projects screen, select ‘New Project’ to start a new job entry.
3.Enter The Project Name
Type a clear, descriptive name for the project. This helps distinguish multiple jobs under the same customer.
4.Select The Associate Customer From The Dropdown
Link the project to an existing customer profile in your account. This step is required to save the project.
5.Add Optional Details
You can add extra information such as start date, end date, project status, and notes to track job timelines and progress. These fields are optional but useful for scheduling and internal review.
6.Click Save To Create The Project
Once all required and optional fields are filled, click ‘Save.’ The project will now appear in your main Projects dashboard.
Adding Transactions To A Project

To measure profitability accurately, every income and expense must be linked to the correct project. QuickBooks Online allows you to assign transactions either when creating them or by editing entries afterward.
- New Transactions: From within an open project, click the ‘Add to project’ dropdown in the top-right corner. Select the transaction type such as Invoice, Expense, Bill, or Time Entry, to create it directly under the current project
- Existing Transactions: To assign past transactions to a project, open the transaction and locate the ‘Customer/Project’ field. Use the dropdown to select the relevant project
Note: Only transactions that are tied to a project will appear in its profitability reports and dashboards. Omitting this step may result in incomplete job costing data.
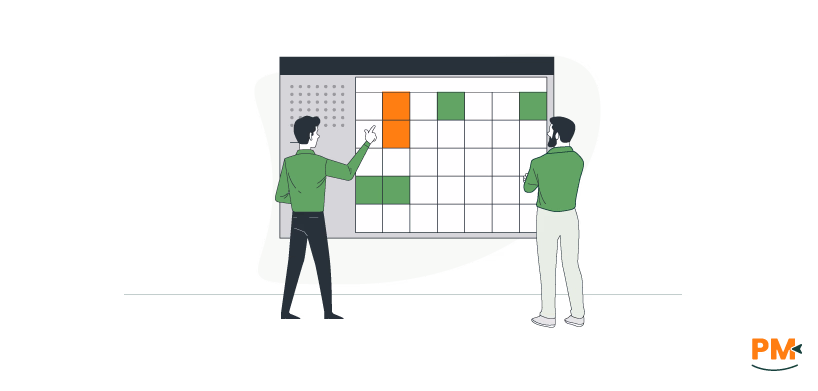
Monitoring labor costs is essential for understanding project profitability. In QuickBooks Online, time can be tracked against projects using either direct integration with QuickBooks Time or manual time entry. Both options allow you to record work hours, assign labor to specific jobs, and include those costs in profitability reports.
When set up correctly, labor data flows into each project dashboard, helping you measure how much time has been spent, how much it has cost, and how that affects the job’s financial outcome.
Using QuickBooks Time Integration
QuickBooks Time (formerly TSheets) connects directly with QuickBooks Online to track labor costs by project. Employees record their hours in QuickBooks Time, and those entries sync automatically with the corresponding job in your QuickBooks account.
- Track Time By Project: Each employee can select a project when logging hours. This ensures all time entries are linked directly to a specific job for reporting and invoicing purposes
- Automatic Sync For Cost Accuracy: Once approved, time entries flow into QuickBooks automatically. If payroll is connected, labor costs update after each pay run. Otherwise, you can assign hourly labor rates manually for cost estimation
- Run Timesheet Reports: QuickBooks Time includes reports showing total hours worked per project, employee, or time period. This helps assess how labor is distributed across jobs and highlights where time is being overused
Manual Labor Entry Without QuickBooks Time
If you are not using QuickBooks Time, QuickBooks Online still allows you to record hours manually and assign them to individual projects. This method captures time-based costs by using estimated hourly rates tied to each worker.
- Log Time By Project: You can create a single time activity and assign it to a specific project. This links the hours worked directly to the job for use in profitability and cost reports
- Apply Estimated Hourly Costs: In the vendor or employee profile, you can set an hourly labor rate. QuickBooks uses this to estimate the cost of the time entry on project reports
- Include Time In Project Reports: These manual entries appear in the Time Cost by Employee or Vendor report. They allow you to track labor spending across projects, even without using payroll or external time tools
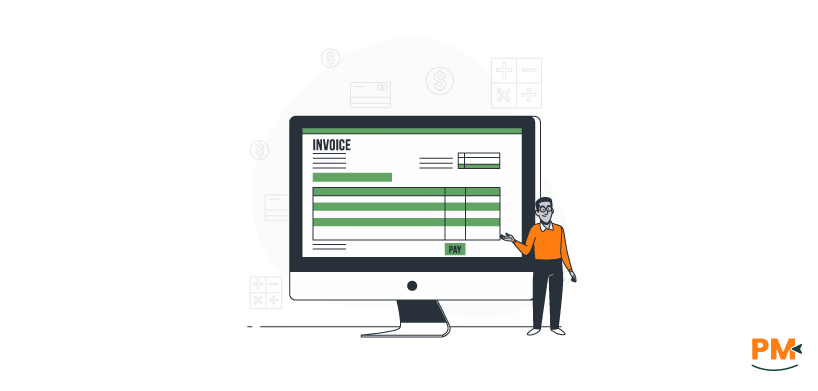
Once income and labor costs are assigned to a job, you can generate project-specific invoices directly from QuickBooks Online. This ensures that all billable time and expenses are linked to the right project and client. Billing from within the project dashboard helps maintain clear financial records and keeps your workflow organized.
Creating Invoices From Projects
1.Open The Project And Click Add To Project
Navigate to the project you want to bill. At the top-right, click ‘Add to project’ and select ‘Invoice’ to begin a new billing entry tied to that job.
2.Select The Customer And Add Billable Items
Choose the associated customer from the dropdown. Add any billable time entries, expenses, or materials that should appear on the invoice.
3.Customize And Send The Invoice
Review the invoice for accuracy. You can adjust descriptions, dates, and amounts as needed. Once complete, send it to the client directly from QuickBooks.
QuickBooks Online provides built-in reports that help you evaluate how each project is performing financially. These reports are tied directly to the data you’ve assigned through time tracking, invoicing, and expense allocation. Reviewing this information regularly gives you a clear view of profitability, outstanding billables, and labor distribution across your active jobs.
Utilizing Project Reports
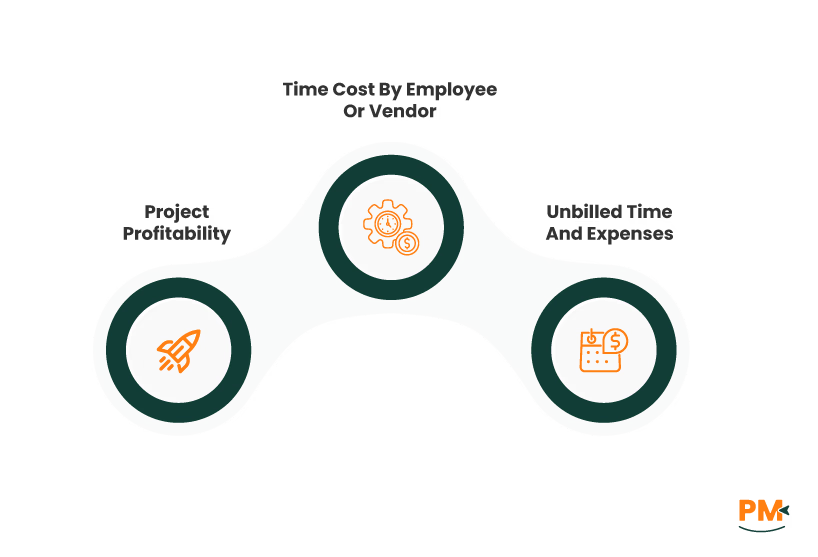
- Project Profitability: This report calculates the income, costs, and net margin for each project. It helps you determine which jobs are profitable and where your spending may be too high
- Time Cost By Employee Or Vendor: This report breaks down labor costs by staff member or subcontractor for each project. It’s useful for analyzing how much time each resource is contributing
- Unbilled Time And Expenses: This shows all billable time entries and costs that haven’t yet been added to an invoice. It prevents revenue leakage in your quickbooks online projects

To get the value from QuickBooks Online project management tools, you need to use them consistently and correctly. Errors in time entry, unassigned expenses, or ignored dashboards will lead to incomplete data and unreliable reports. The following practices help maintain accurate records and improve visibility across all your projects.
Regularly Review Project Dashboards
Project dashboards give a live view of each job’s financial status. Review them frequently to monitor costs, track invoicing, and address overspending before it affects profit.
Maintain Accurate Records
All income, expenses, and time entries must be assigned to the correct project. Missing or misclassified entries can distort cost analysis and make reports unusable.
Build And Reuse Project Templates
In QuickBooks Online Accountant, you can create templates for recurring projects. This saves time, reduces setup errors, and ensures consistency across similar jobs.
Convert Sub-Customers To Projects
If you previously used sub-customers for job tracking, convert them into projects to improve visibility and align with how to use QuickBooks for project management best.
Is the Projects feature available in all QuickBooks Online plans?
No, projects is only available in QuickBooks Online Plus, Advanced, and Accountant editions. It is not included in Simple Start or Essentials plans.
Can I convert existing sub-customers to projects?
Yes, you can convert sub-customers into projects through the customer profile. This aligns past data with project-based tracking for better reporting.
How do I track labor costs without QuickBooks Time?
You can manually enter hours in QuickBooks and assign estimated hourly rates. Labor costs won’t be tied to payroll but will appear in project reports.
Can I assign multiple users to a single project in QuickBooks Online?
QuickBooks does not let you assign users directly to a project. However, any user can log transactions or time entries that are linked to the same project.
How do I delete or archive a project in QuickBooks Online?
Projects cannot be deleted. To remove them from active views, open the project, click options, and select mark as inactive.